
Hello my lovelies, it’s been a while! Hope you’ve all been keeping well and have been soaking up the springtime sun (with hopefully not too many April showers in sight!). Okay, so I’m wandering on uncharted territory here, because this marks my very first DIY post! I’ve been pondering over what I wanted to make for some time now, gaining inspiration from lovely handmade bunting, garlands, earrings etc. However, hopefully this tutorial will show you how to make your very own quirky rainbow cardigan/collar clips, because who doesn’t love a bitta colour? 🙂

(L-R)
White Modelling Clay – Hobbycraft
Super Glue – Hobbyraft
Craft Scalpel – Hobbycraft
Jewellery Pliers – Hobbycraft
Silver Plated Midi Jump Rings – Hobbycraft
Clip On Earring Findings – Ebay
Multicoloured Plastic Links – Ebay
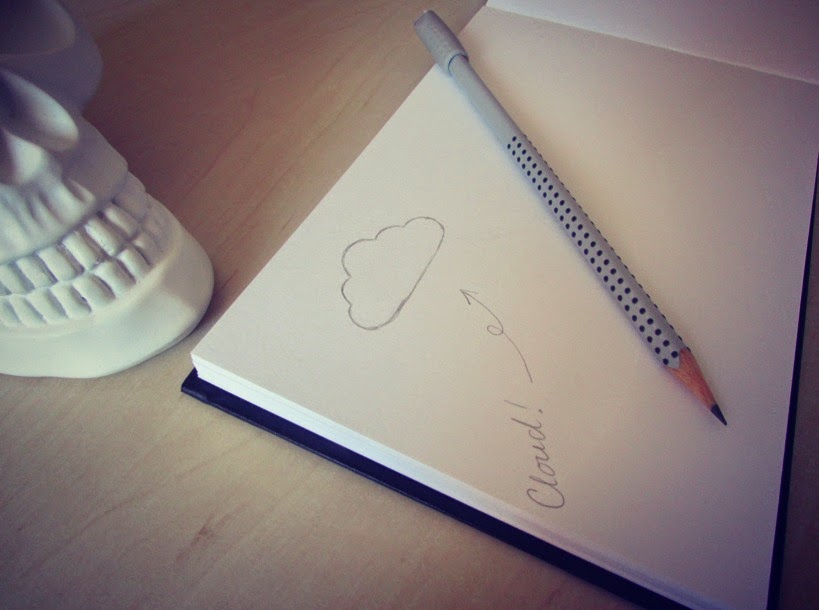
So, after you’ve went out hunting for all the necessary bits and bobs, you should firstly draw out a cloud shaped outline onto a piece of thick paper – this’ll be used as a guide when you’re carving around the clay. Afterwards, cut out the cloud guide very carefully and don’t worry, you only need the one as it can be reused! Saving the earth one tree at a time and all that.

After unwrapping your new clay, you want to kneed and roll it to get rid of it’s stiffness, making it more malleable. When you’ve flattened it, not to the point of making it paper thin, but leaving a bit of thickness to it, you can place your little cut-out cloud guide daintily on top! Now for the bit that requires patience and concentration: carefully cut around your cloud frame using your scalpel. Emphasis on the word CAREFULLY, as scalpels are highly dangerous and should be used with extreme precaution and precision.

When you’ve completed cutting around the clay to create your clouds, it may also be a good idea to carve out an extra one just incase something might go wrong with one of the others so you can use as a replacement (always the contingency planner!). When you’re happy with your little cloudy creations, it’s recommended that you oven bake them for around half an hour at 110 degrees celsius – however I am aware that air dry clay exists, and if you so happen to purchase this brand instead of the over bake clay, just ignore this particular part and continue onwards!

When you’ve popped them out of the oven, just be aware that they will be piping hot! So make sure you give them about 10-15 minutes to cool down and harden properly. From Ebay, I ordered 10 pieces of plastic links of varied colours, however considering our clips will be rainbow inspired, I think now’s as good a time as any for me to recite my GSCE Physics lesson:
Richard
Of
York
Gave
Battle
In
Vain
However, to my disappointment the packet didn’t come with any violet hues, only a singular purple one, so it’s fine to make do with just the six chains, as it’ll actually make the clips look less cluttered!

When the clouds have hardened, you’re ready to get stickin’! As you can probably already imagine, for any of you out there who haven’t used SuperGlue before, the clue is in the name – it sticks hard and FAST! So a word of warning, be very cautious when utilising it because I can’t tell you the amount of times I’ve managed to make an extra layer of gluey skin for my fingers whilst using this stuff! What you simply do next is carefully glue your clip on earring findings onto the back of your clouds – and please make sure that they’re facing the right direction of where you’re planning to clip them!

And lastly, already on your clip on earring findings, there should be a little hole available for you to loop your jump rings. Using the pliers, I gingerly slipped the rings through the little hole and then easily placed my rainbow links inside before closing the gap up again with the pliers. And it’s honestly as simple as that!

Have you ever done a DIY?


